
Set up Amazon Elastic Filesystem (EFS)
Follow the instructions below to setup an Amazon elastic filesystem (EFS) mounted on both the student and grading JupyterHubs to allow for simple transfer of files between the two JupyterHubs for grading.
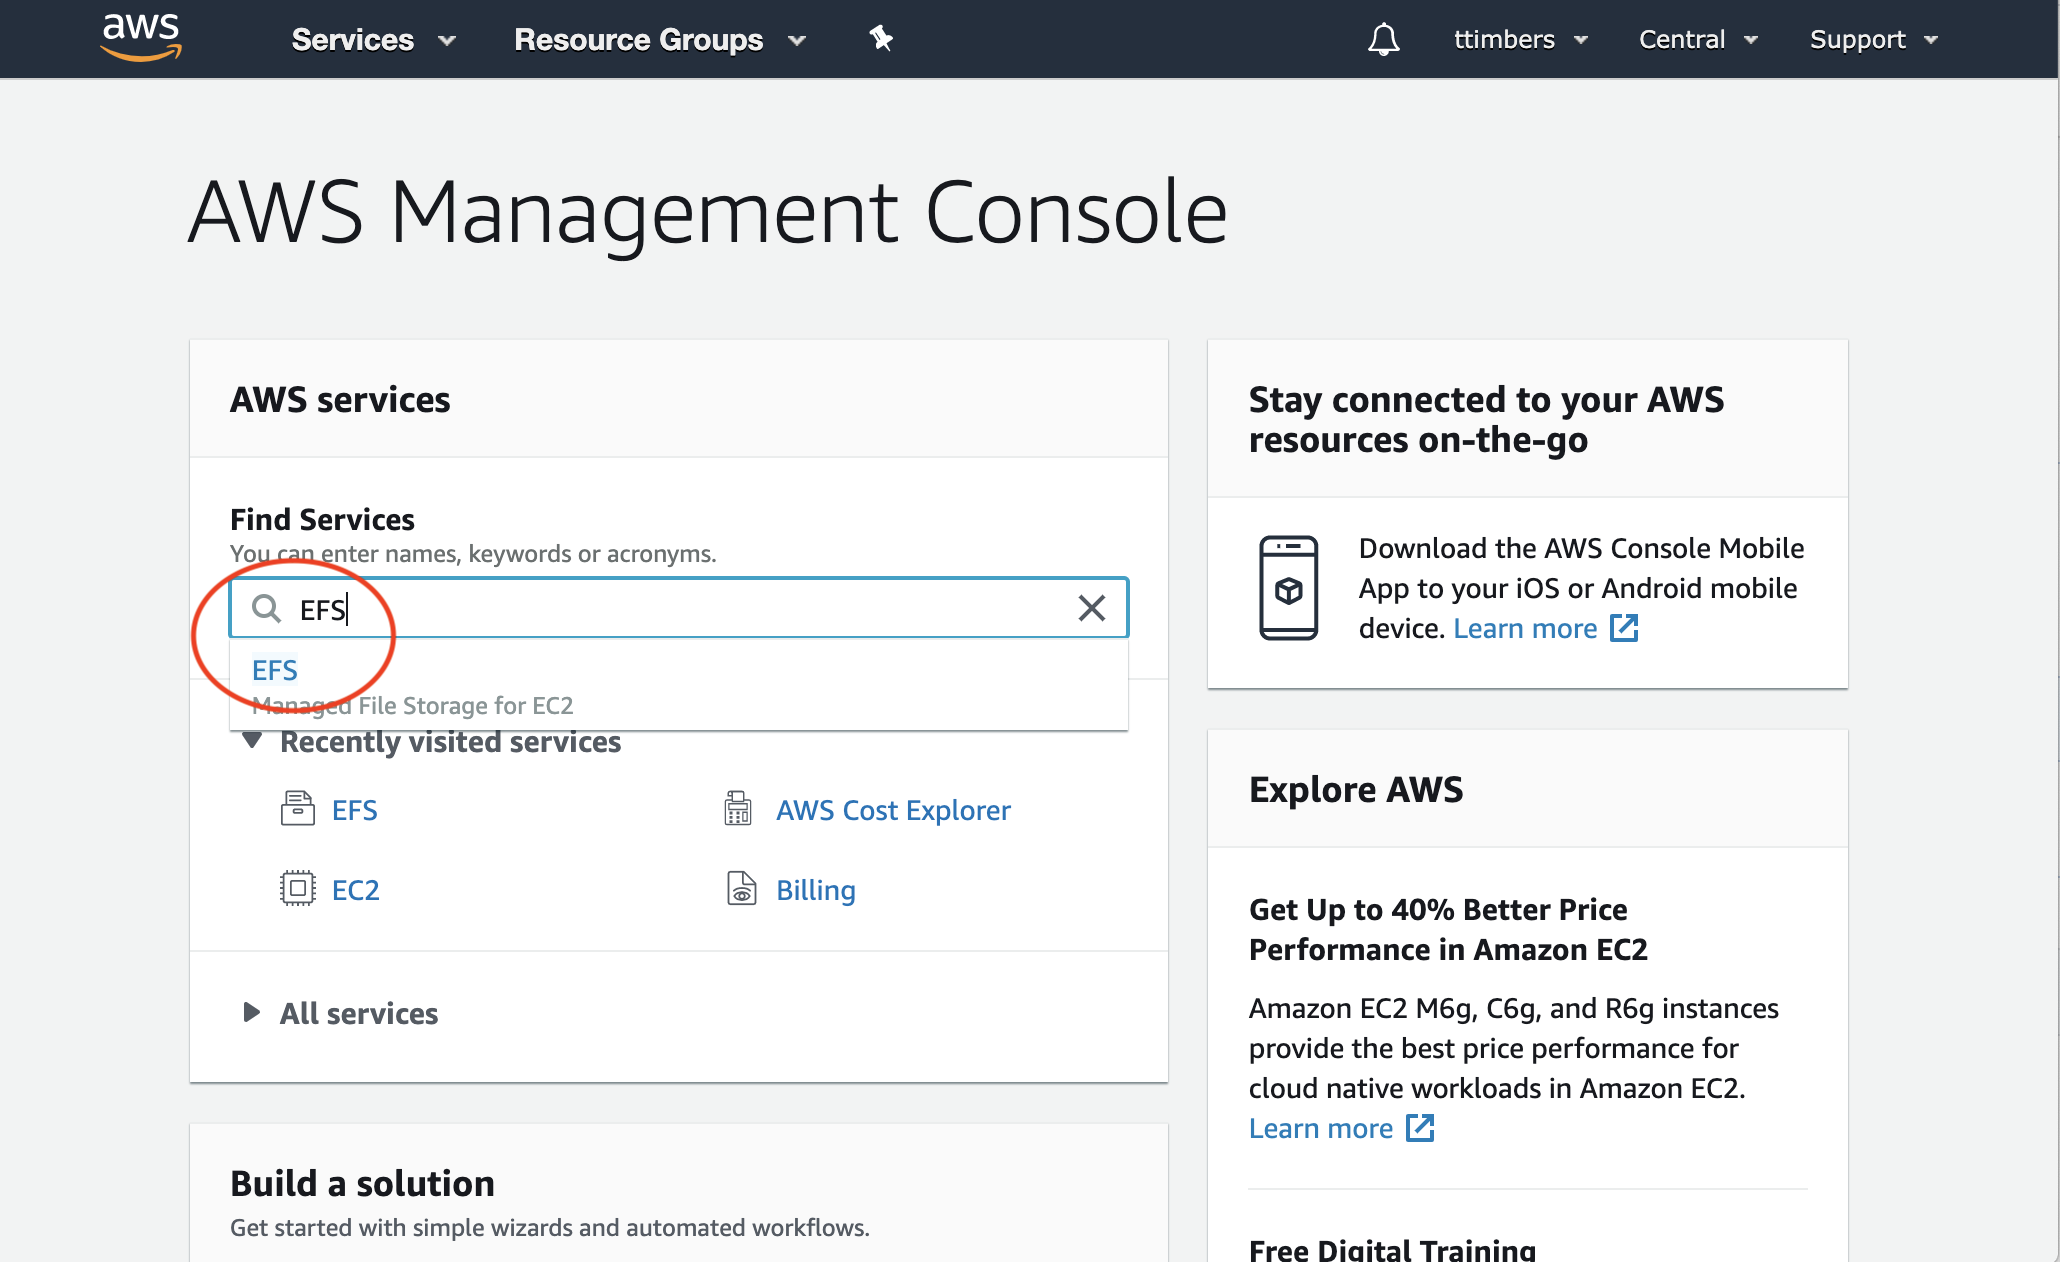
Log into the AWS Management console and search for EFS in the AWS services search bar:
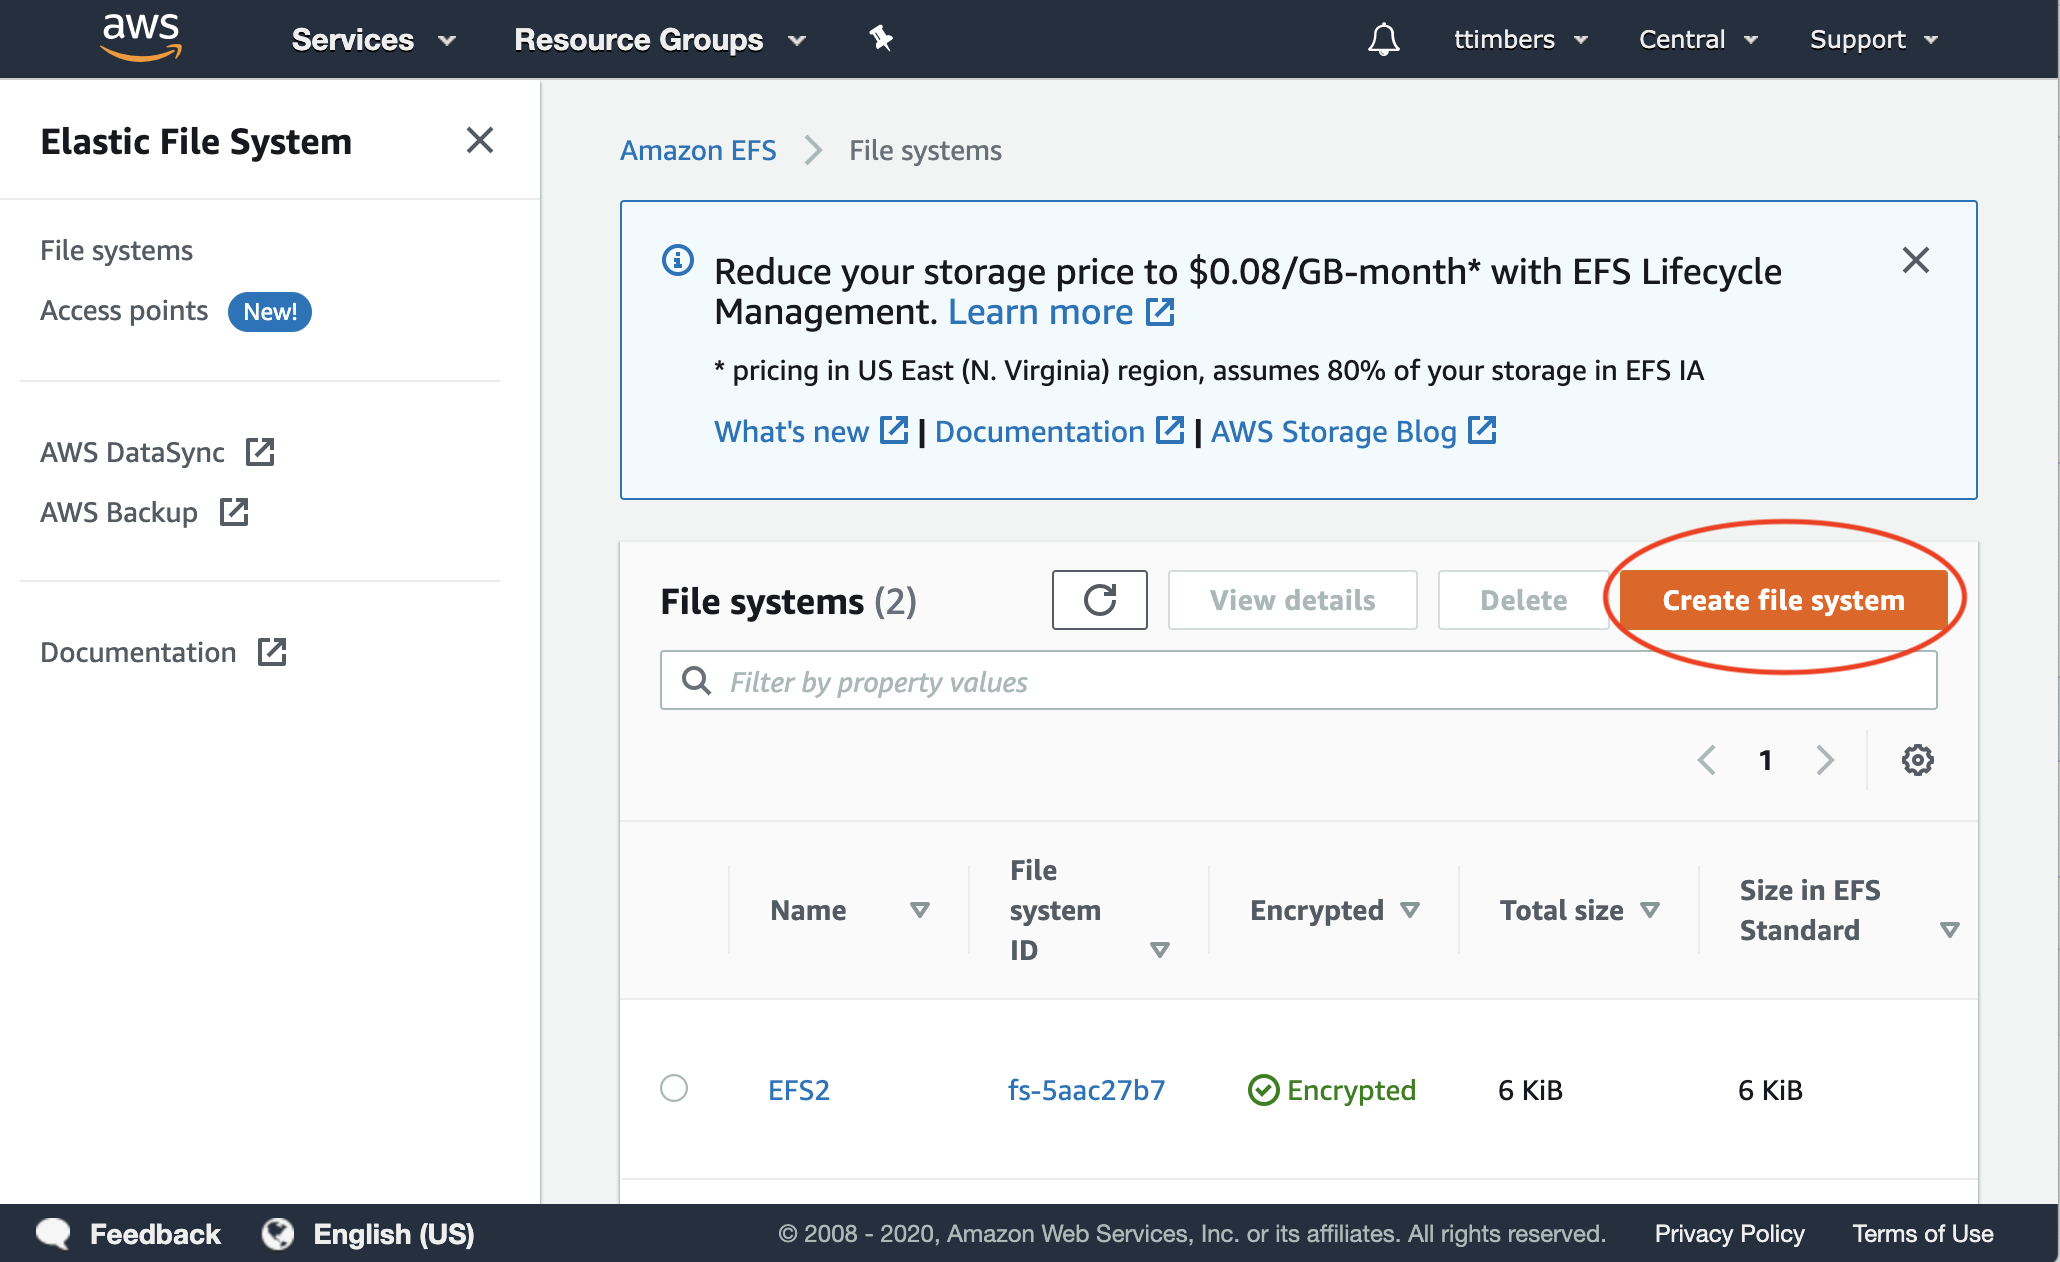
Scroll down and click on the orange “Create file system” button:
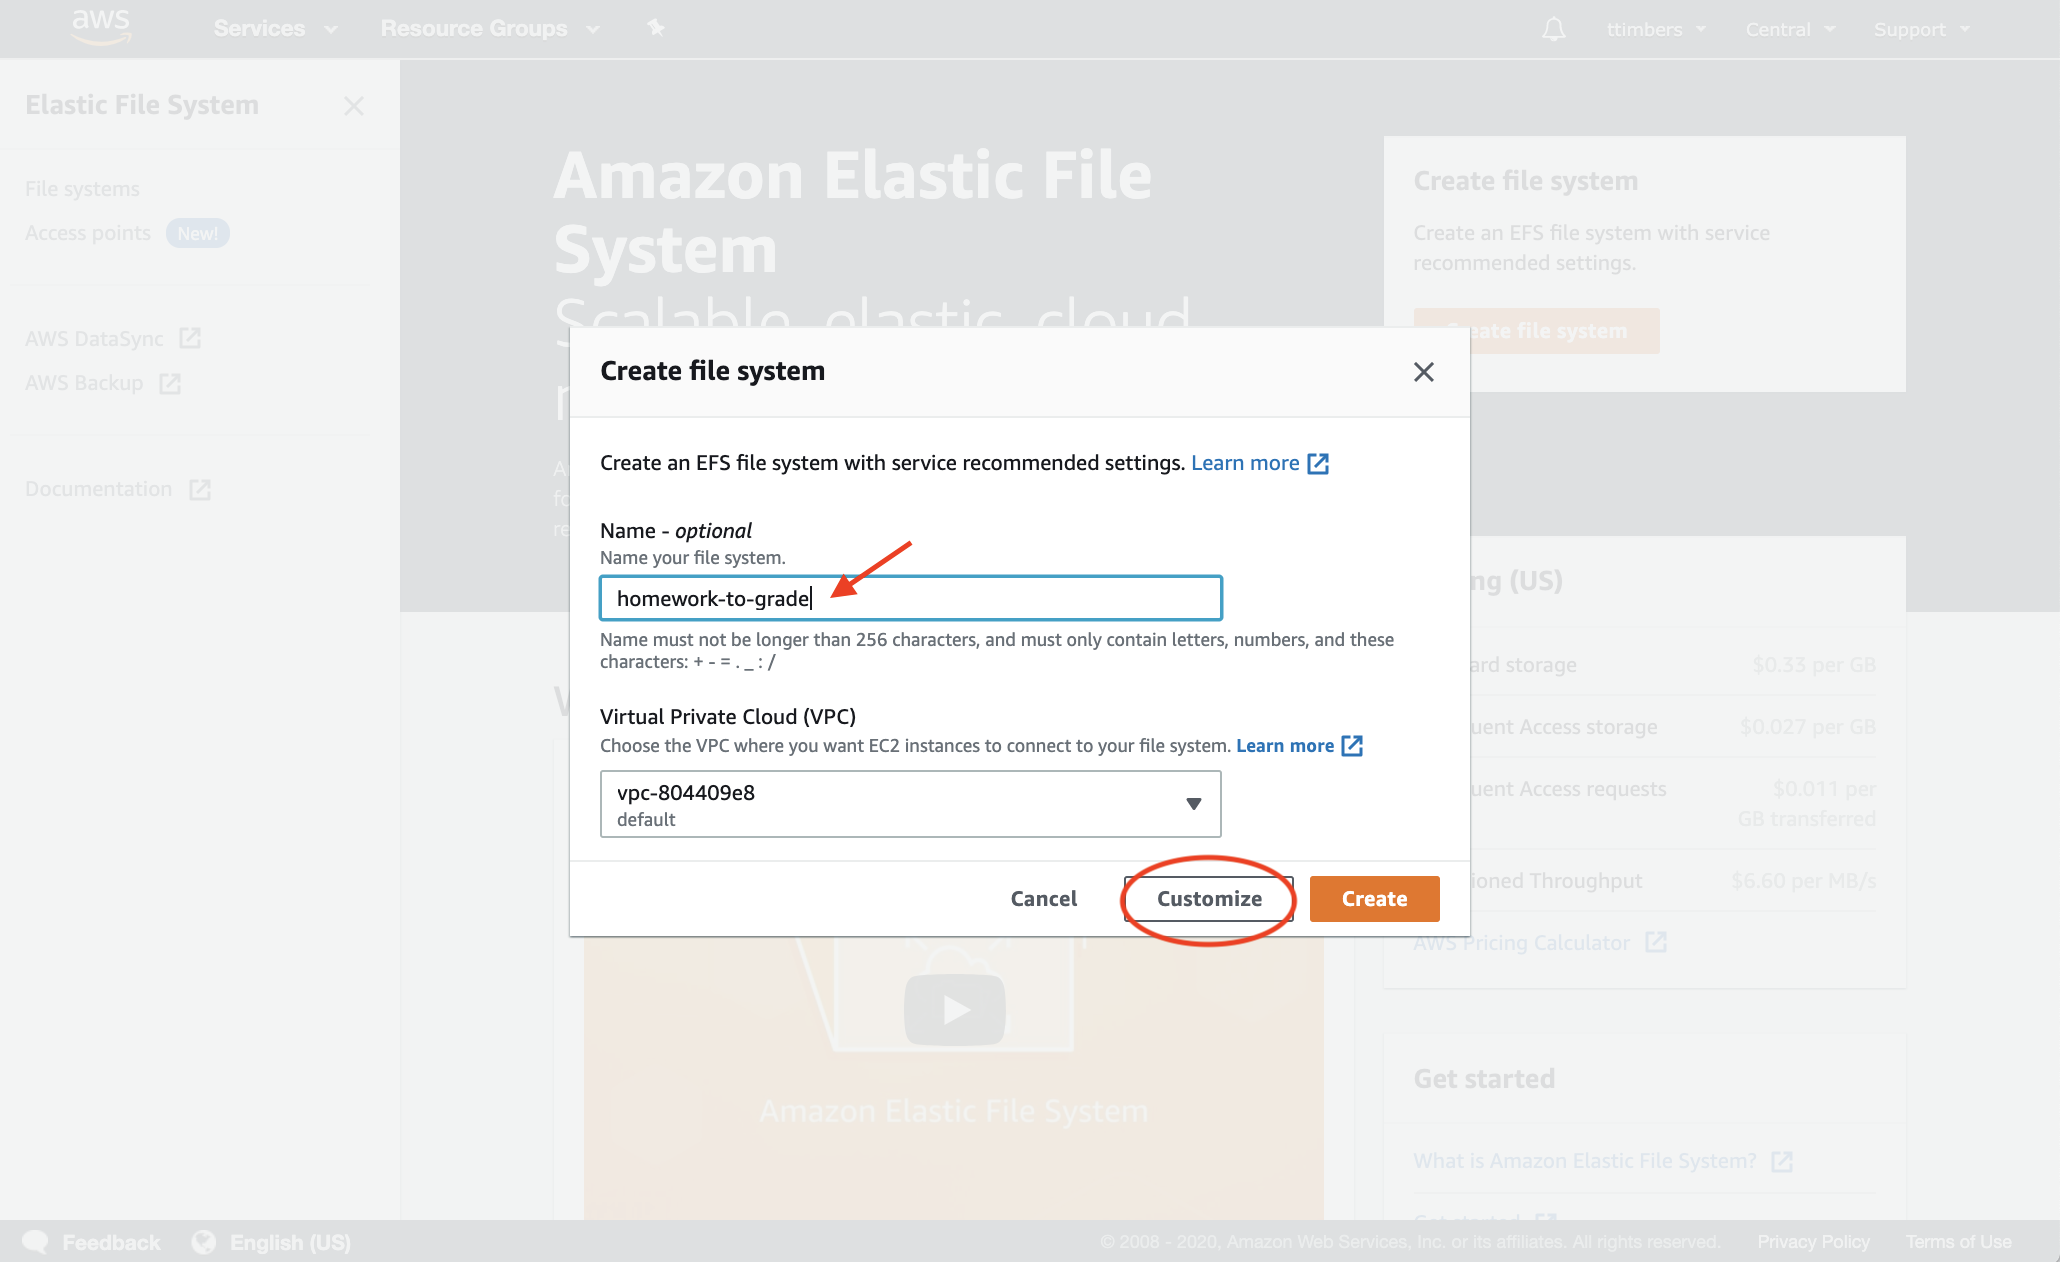
Add a name for your file system (we called ours homework-to-grade) and click the white “Customize” button:
Deselect “Enable automatic backups” (found under the “Automatic backups” header) and scroll down to the bottom of the screen and click the orange “Next” button:

Leave these settings as is, and click the orange “Next” button:
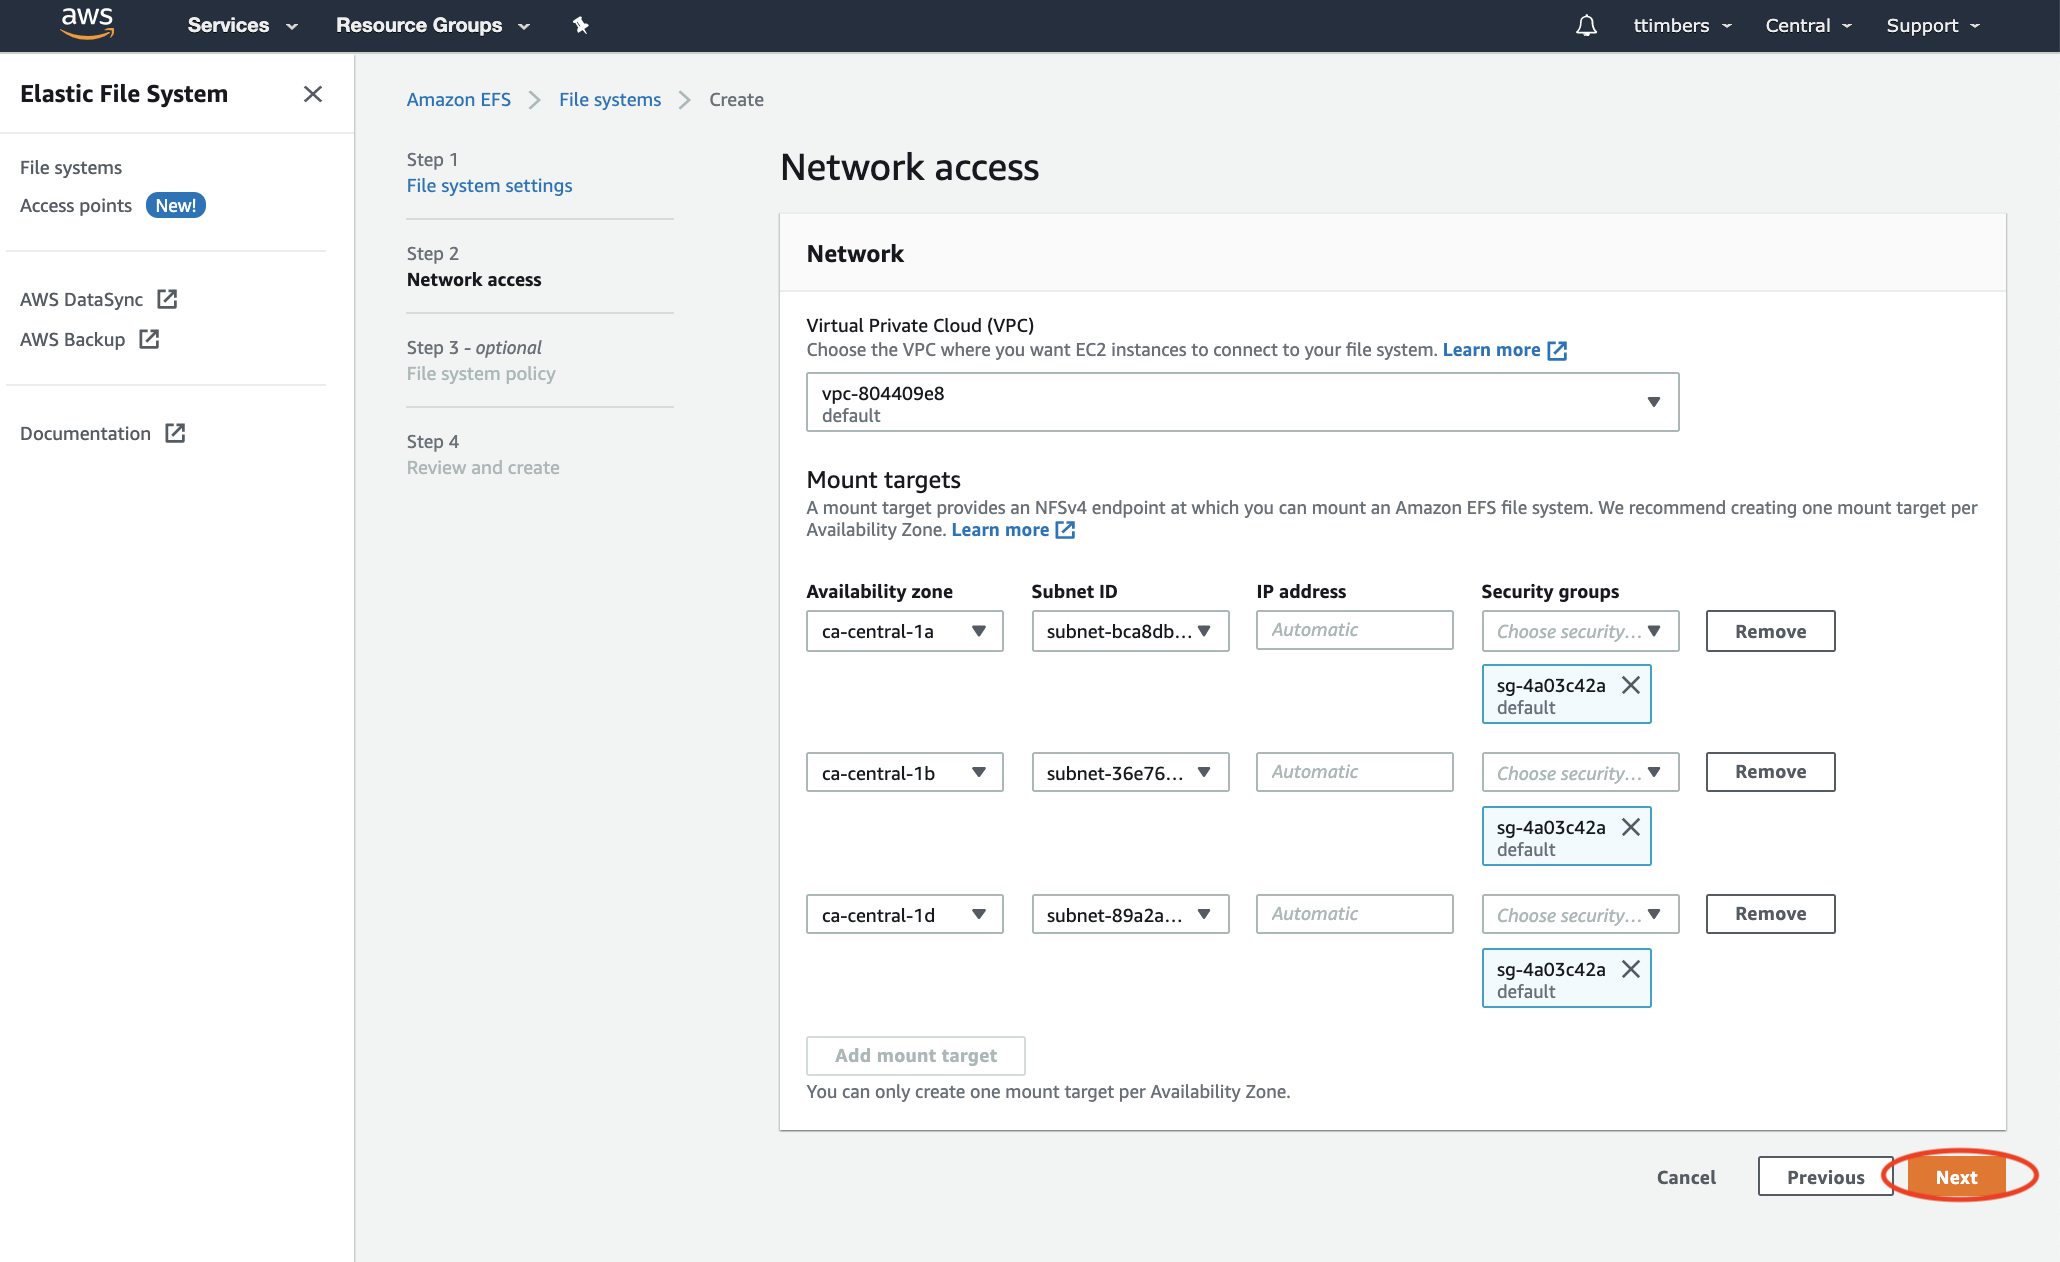
Leave these settings as is, and click the orange “Next” button:

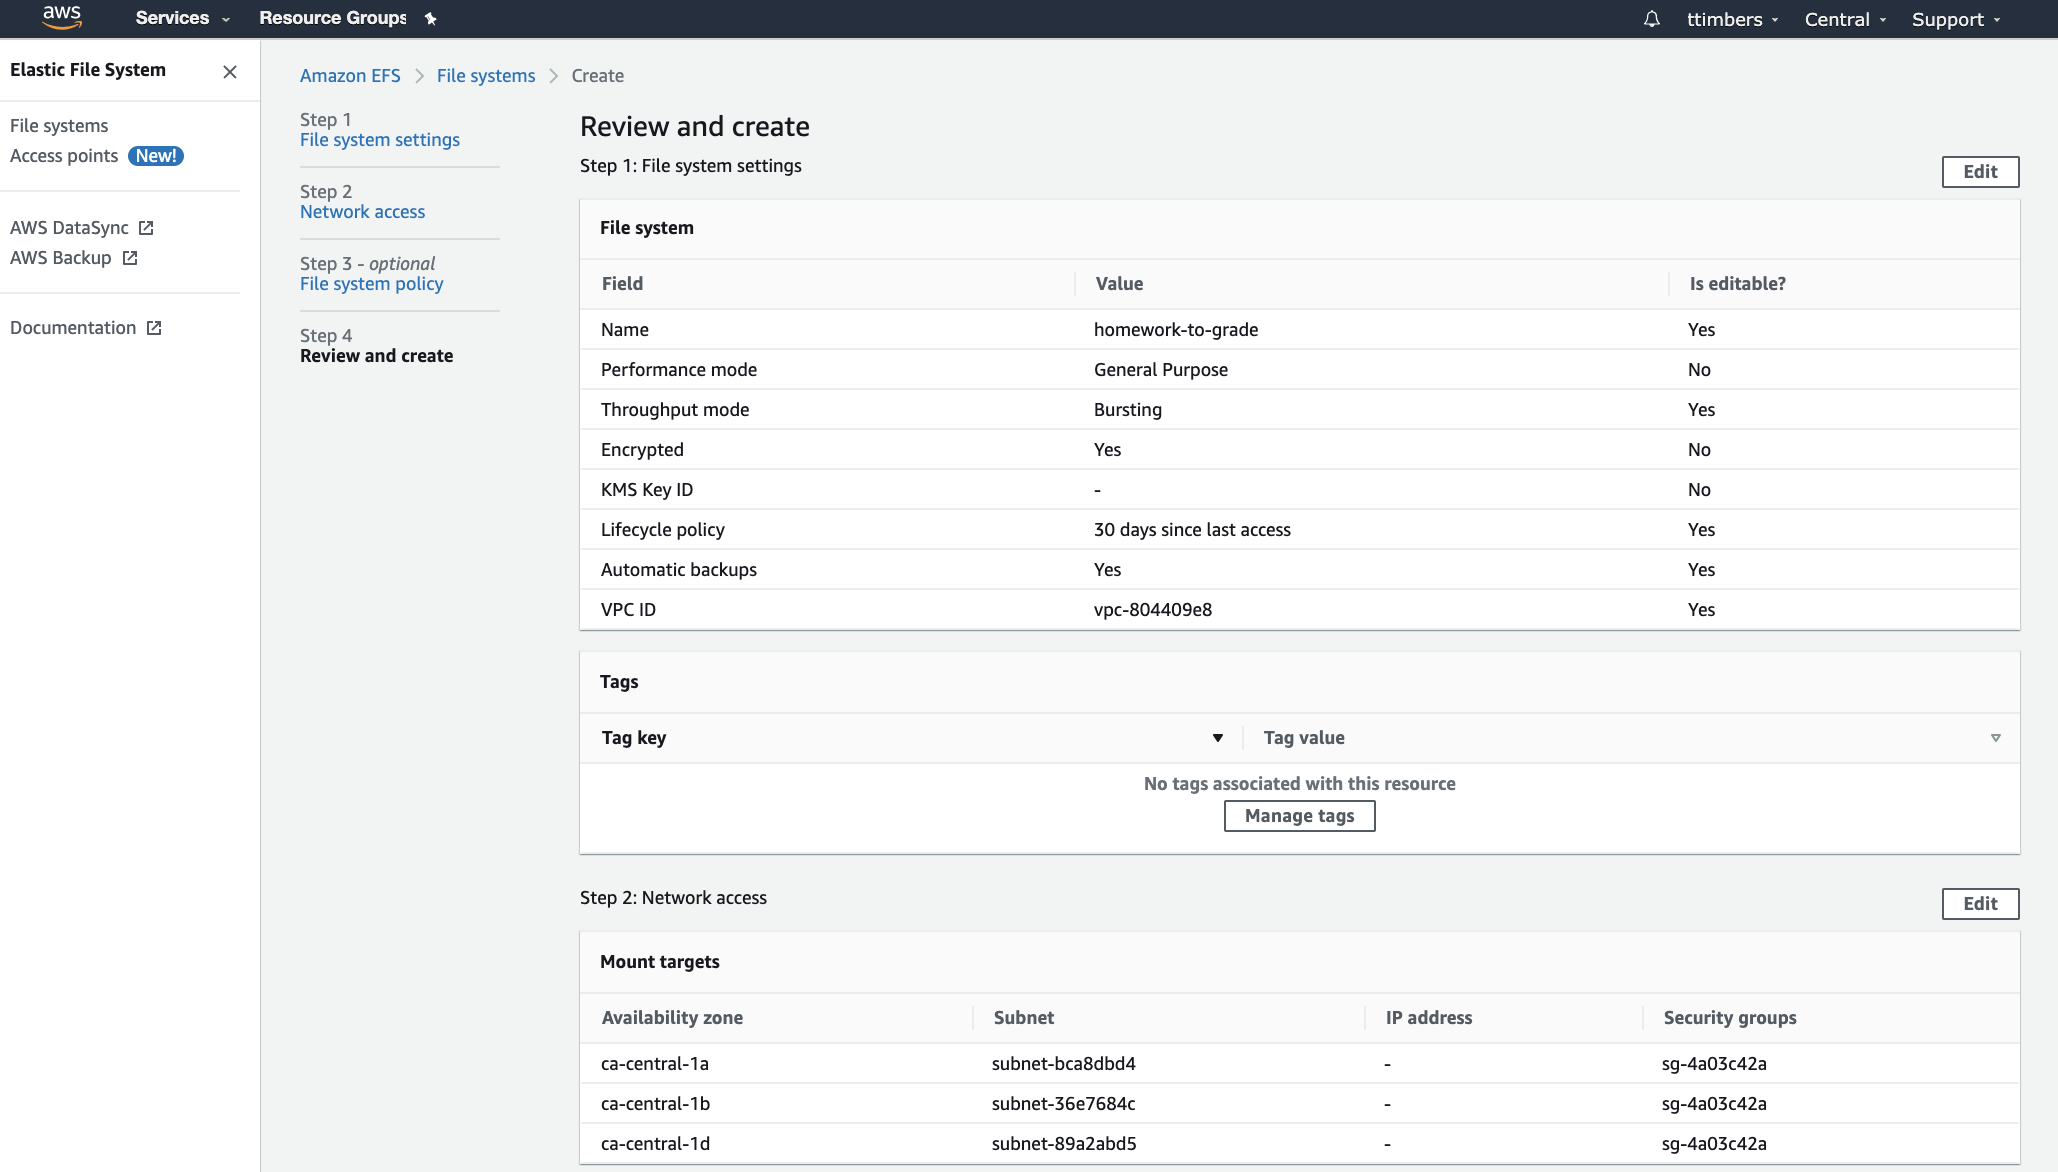
Review your settings as is, and click the orange “Create” button:
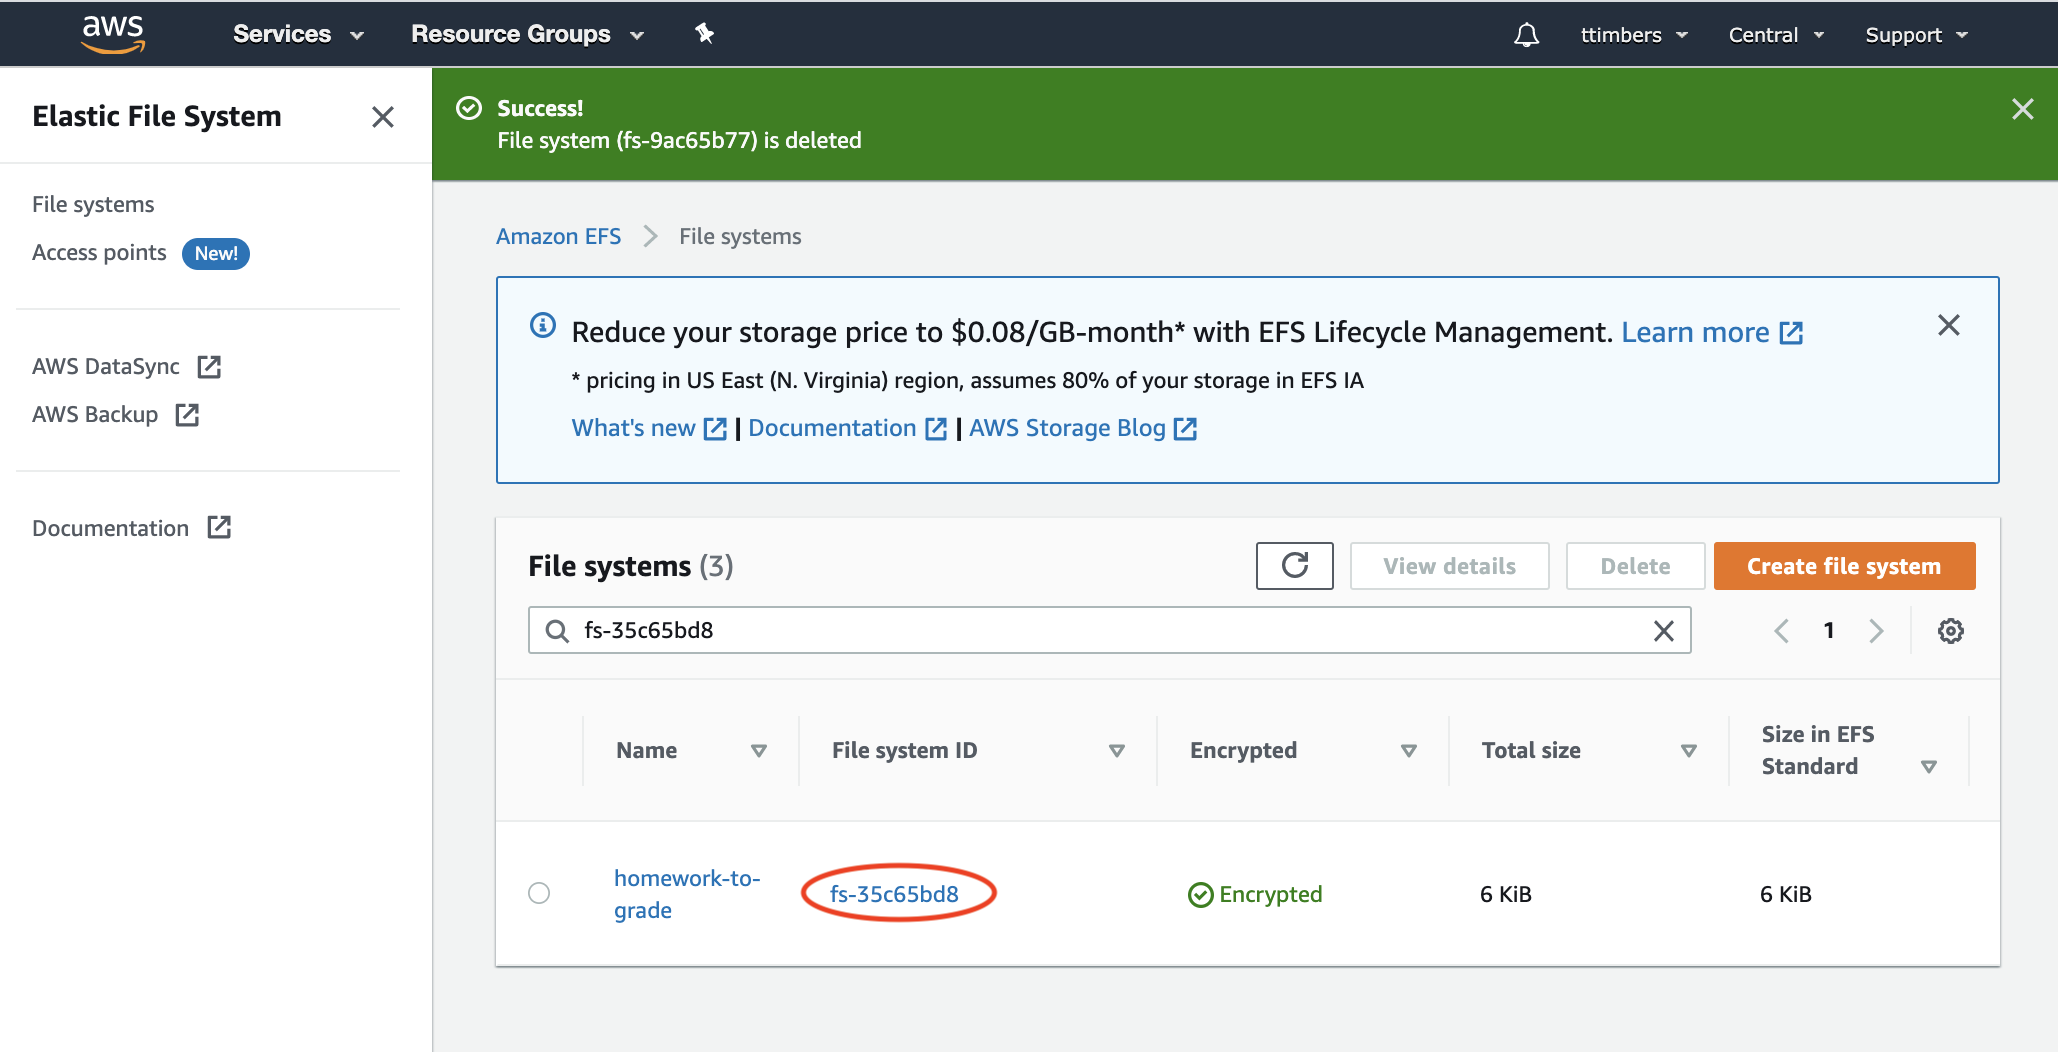
You will then be sent to the EFS dashboard and you should be able to view the file system you just created. Record somewhere for future reference the File system ID for the file system you just created (for example, ours is
fs-35c65bd8):
Now that you have setup the necessary AWS infrastructure, you can move onto using ansible to setup and install the JupyterHubs!