9 Pull requests
Learning Objectives
- Use GitHub pull requests to bring new changes into the project’s default branch.
- Close a pull request without merging it.
9.1 Creating a pull request
To create a pull request, you first need to ensure all the local changes you made on the new branch are also available on the remote repository (i.e., you need to push them). Once that has happened you need to go to the remote GitHub repository, as pull requests are created from there.
GitHub often tries to be helpful when a change is pushed to a new branch that doesn’t yet exist on the default branch by showing you a yellow banner listing any recently pushed branches.
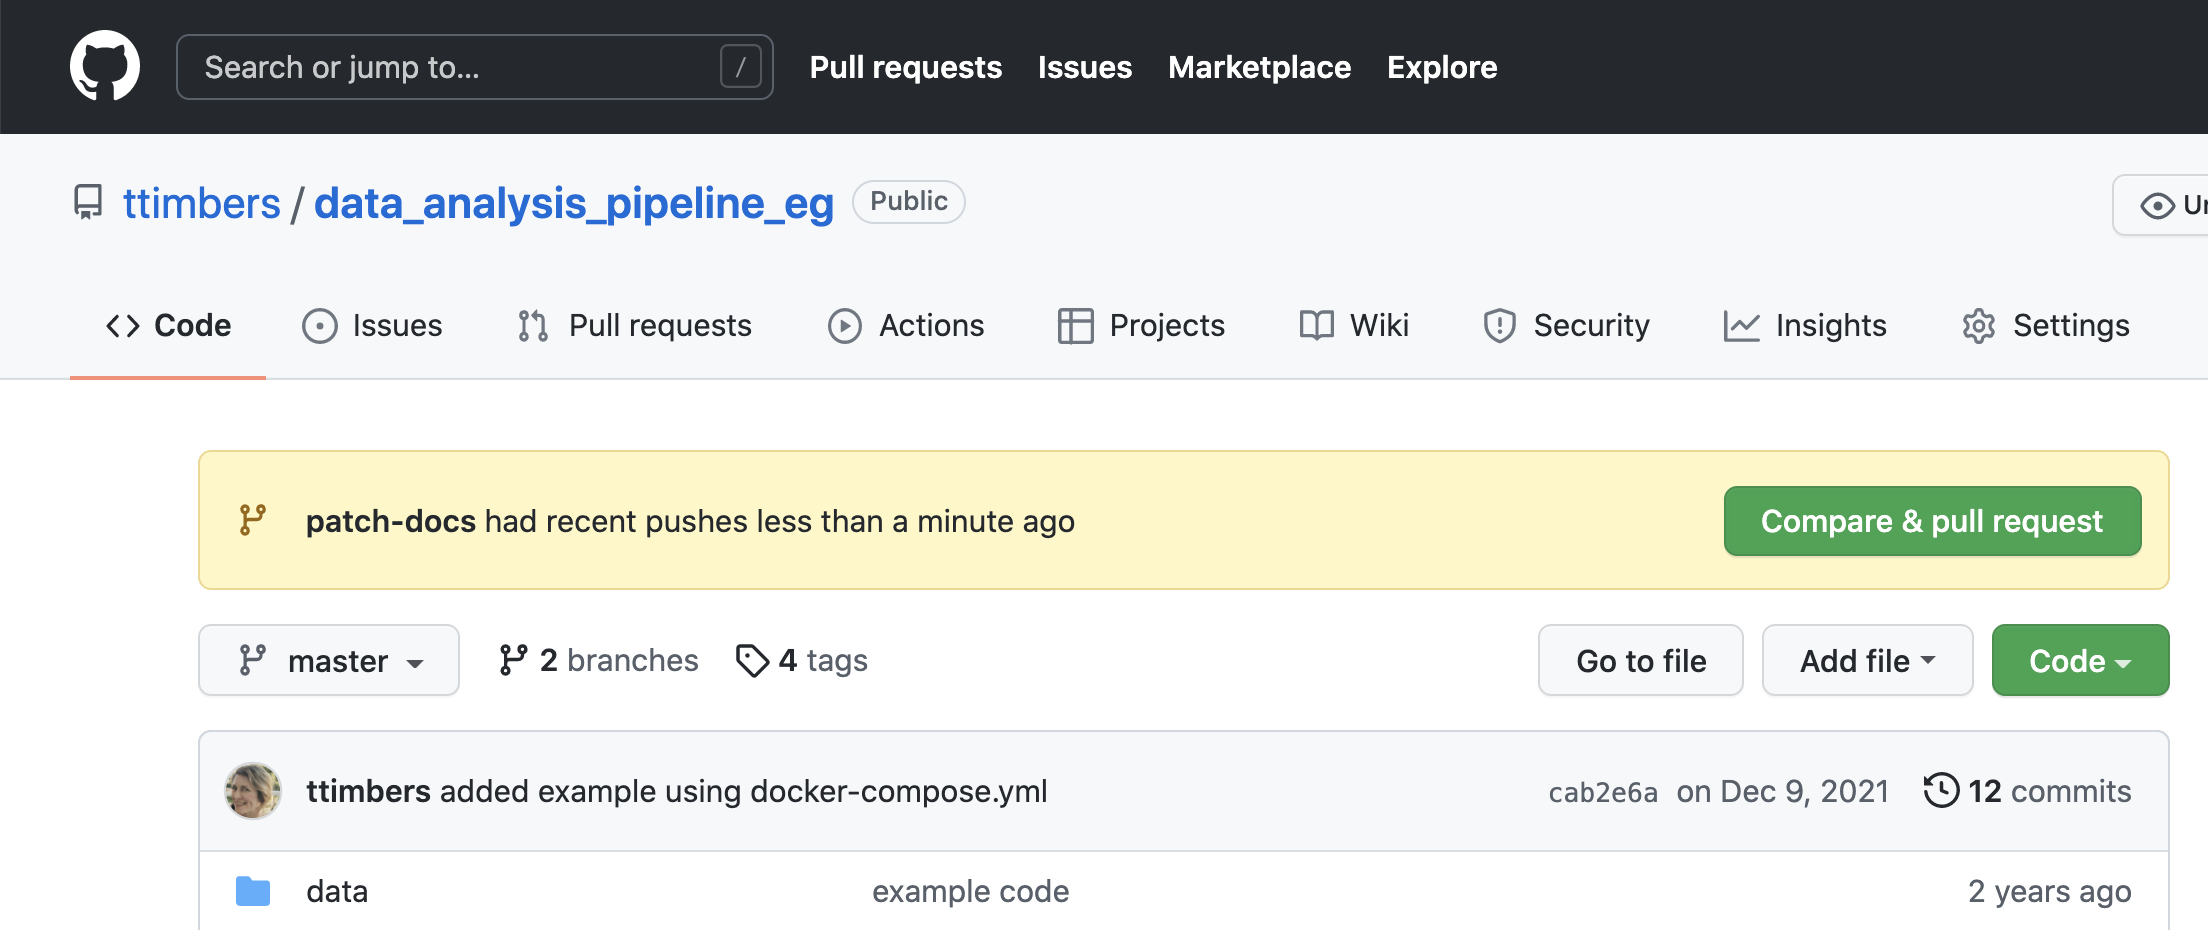
To create a pull request, you click the green button “Compare & pull request”. In the new page, add a message to describe the changes you have made, scroll down to review the changed files, and the click the green button that reads “Create pull request”. If you are working together in a team, you could also designate certain team members to review your work and assign relevant labels, via the right hand side panel.
The next step is for a collaborator to review your work and merge it in if they approve it (see Code review on GitHub).
Use the green “Compare & pull request” button on the yellow banner to open a pull request.
Go to the “Pull requests” tab on the remote GitHub repository and explore the “Conversation” and “Files changed” sub-tabs there.
9.2 How do you not accept a pull request?
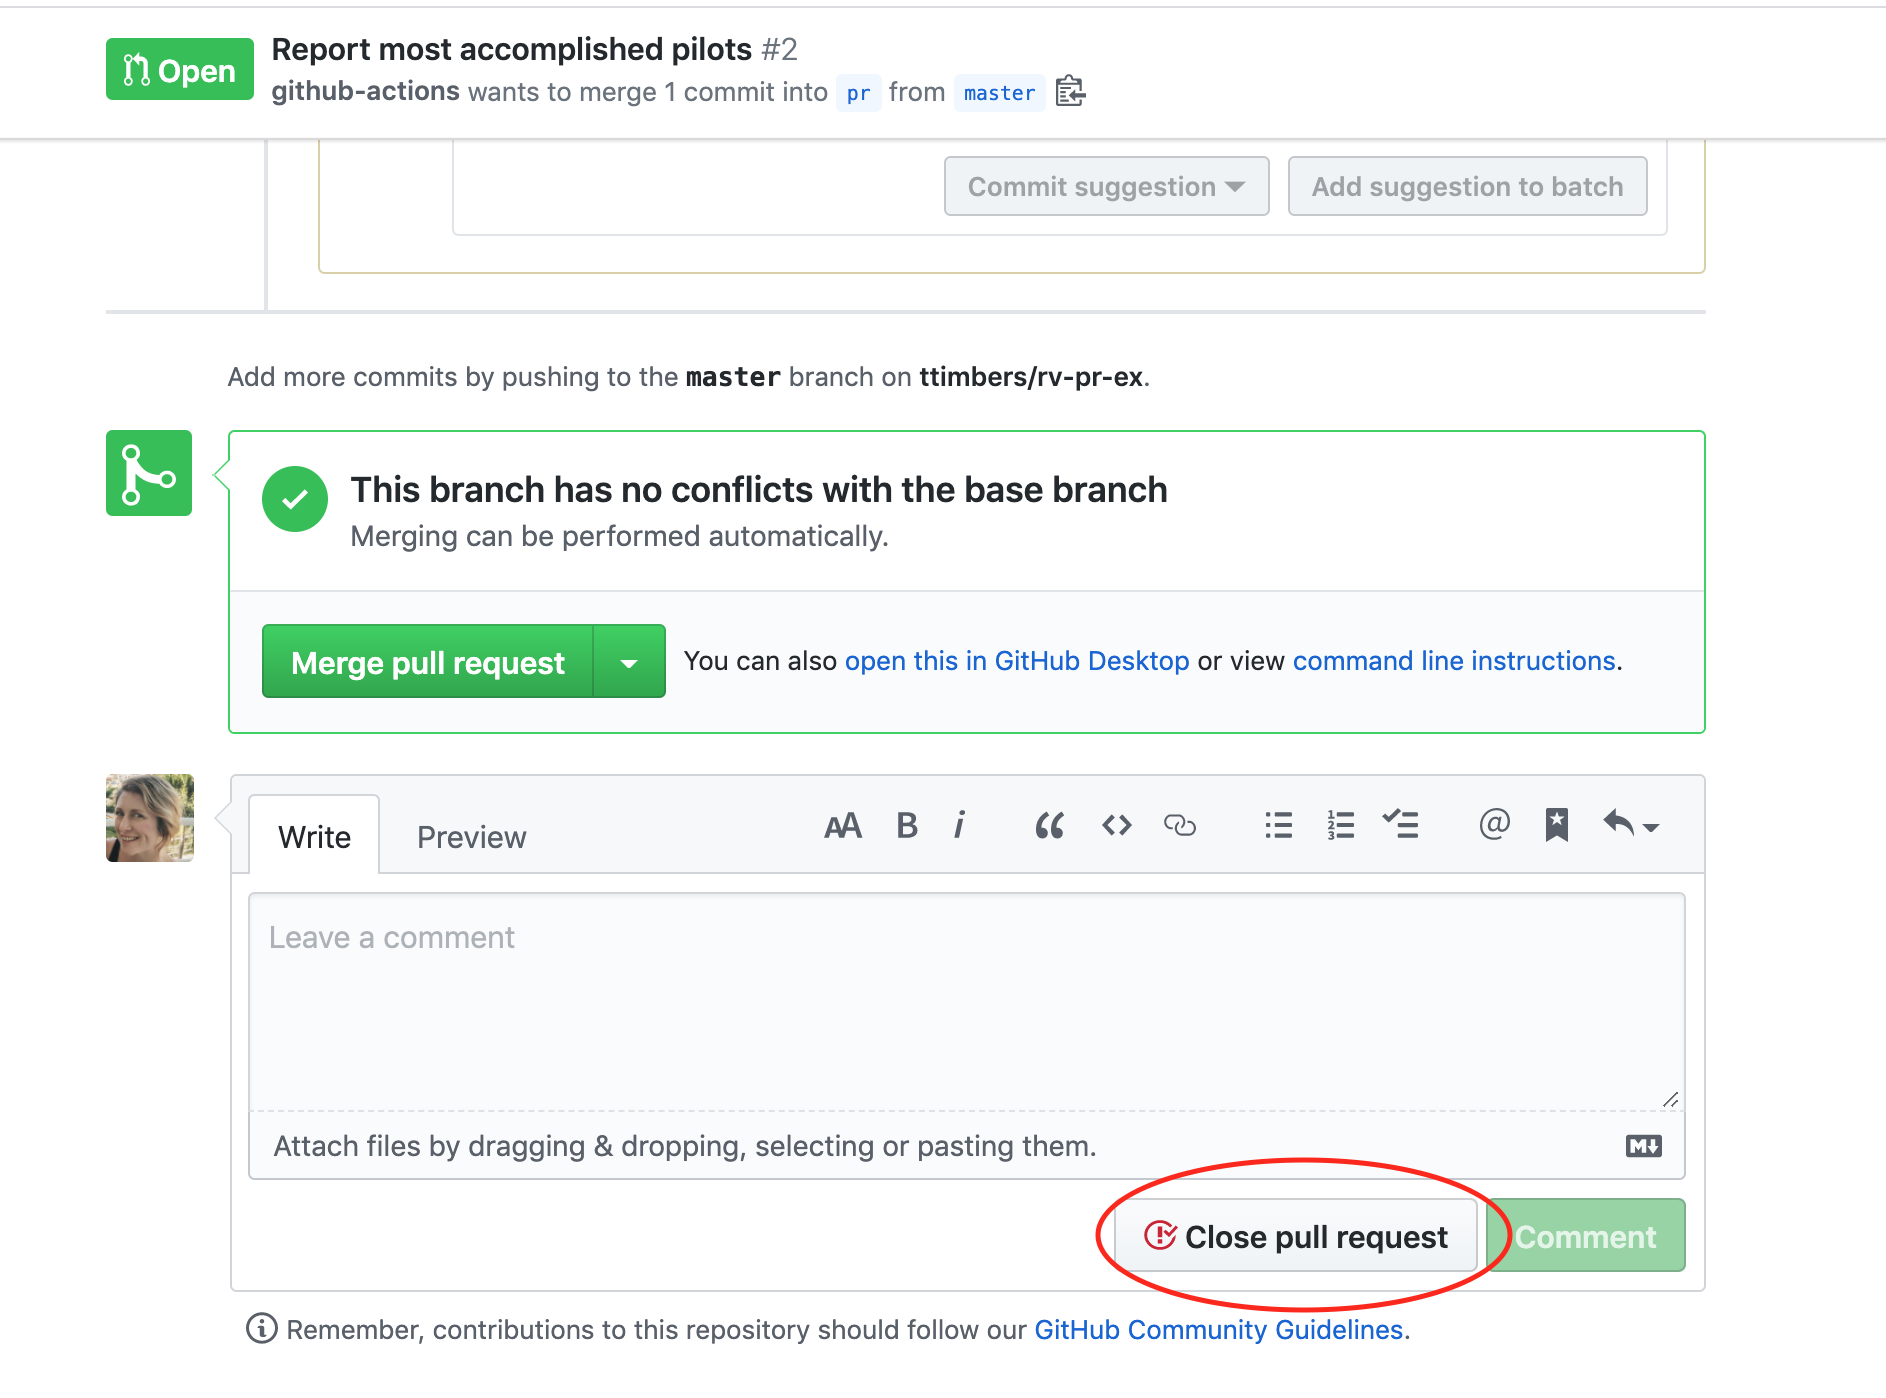
In some cases, it might not make sense to merge a pull request. To close a pull request that should not be merged, scroll to the bottom of the pull request page, and look for a gray “Closes pull request” button. This will end move the pull request to the closed pull requests section (similar to closed issues) and does not merge the changes.